
How to Make a Microfilm with AI? What Software Is Needed
How to Make a Microfilm with AI? What Software Is Needed
When making a microfilm with AI, it is recommended to first write a short story that can be told visually, then define characters and locations, lay out static storyboards, generate shots one by one, and finally complete sound, editing, and a full review. NadouPro can handle assets and production organization; DaVinci Resolve or Adobe Premiere can be used for post-production—the combination of software depends on your shot and delivery requirements. I used NadouPro to do a key-shot test for "The Letter in the Old House": a 2K establishing image followed by an approximately 5-second silent clip, which were estimated at 3 and 7 credits respectively before submission. This was a single-shot test, not a finished microfilm.
Short answer: The first step is to let the audience know what the character is going to do, what they discover, and why it matters; the second step is to choose generation and editing tools. Fewer characters, fewer locations, and a single conflict help check shot continuity. First get the static storyboard right, then spend resources generating the most important actions.
Write visible actions in the script first, then define shot tasks
Assume the story is "an adult returns to an old house and finds a letter left on the table." The script can be divided into entering the old house, discovering the letter, and the reaction after reading it. Each segment should answer what the audience needs to see; inner activities like "remembering complex past events" also require object close-ups, reaction shots, or sound to help convey them. This story is a hypothetical example.
Save confirmed costume and hairstyle references for characters, and record the positions of doors, windows, the tabletop, and the letter for the scene. Reference images help express the target, but they cannot guarantee exact consistency in every generation. To ensure the character's entry direction, gaze, and prop positions connect between adjacent shots, you need to inspect each shot individually.
What each software is responsible for
Stage | Tools to consider | Key items for manual review |
|---|---|---|
Story, characters, scenes, and generated assets | NadouPro Workspace and Canvas | Story logic, reference assets, shot objectives |
Editing, color grading, and audio post | DaVinci Resolve | Pacing, color continuity, volume |
Dialogue transcription, rough cut, and subtitles | Adobe Premiere | Transcription errors, sentence breaks, performance timing |
NadouPro Workspace Guide, DaVinci Resolve official overview, and Premiere Speech-to-Text documentation provide information on their respective features. These are candidate paths organized by production stage; they do not mean project files have been tested for interoperability across software, nor do they imply you must purchase both post-production applications.
Lay out static storyboards first, then generate shot by shot
Arrange each static frame in story order, and specify where the character is, where the next shot looks, and when a prop is discovered. If the static frames still aren’t understandable when played in sequence, add to the script or adjust shot order; visual effects cannot substitute for missing story information.
Give priority to key shots that show interactions between characters and important props. Write each generation prompt around a single action that states the subject, environment, and camera position. After generation, check it against the preceding and following shots: has the character’s costume changed, has the letter suddenly moved, has the gaze direction jumped? Complex actions can be split into multiple shots and built through editing.
Real canvas case: "The Letter in the Old House" — validating only one shot
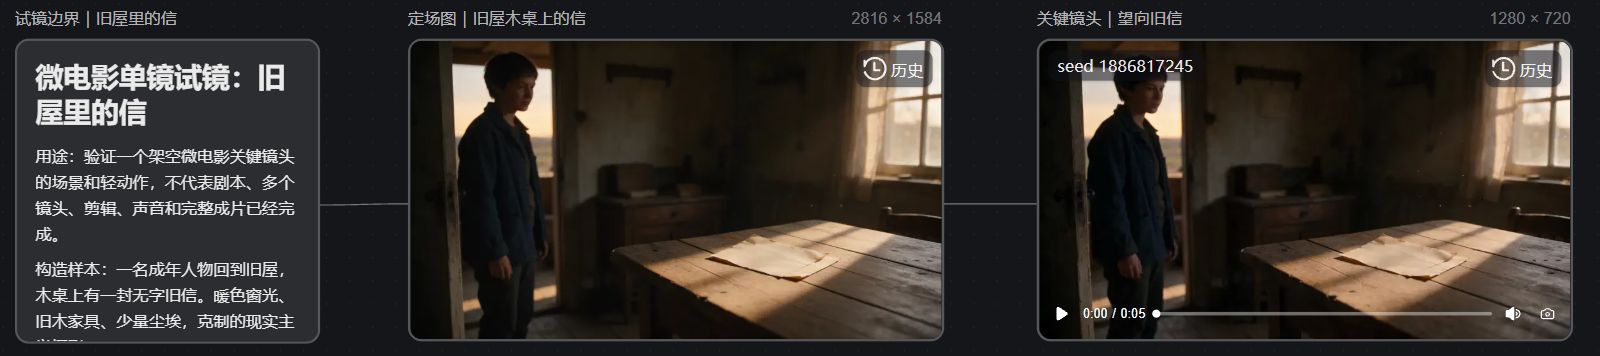
In the NadouPro example canvas, I first wrote the test boundaries and then connected the establishing-image node to the short-video node. The characters and story here are fictional samples and do not use existing film or TV IP. The goal was to verify whether the old house space, the person in a dark blue coat, the letter on the table, and the dusk window light could be carried from the establishing image into the single-shot action.
The establishing image generated by Seedream 5.0 Pro was 2816×1584. The character on the left side of the frame stands by the door, warm window light falls onto an old wooden table and paper, and the interior lighting is relatively dim. The paper on the table can serve as a story prop; the image itself does not disclose the contents of the letter.
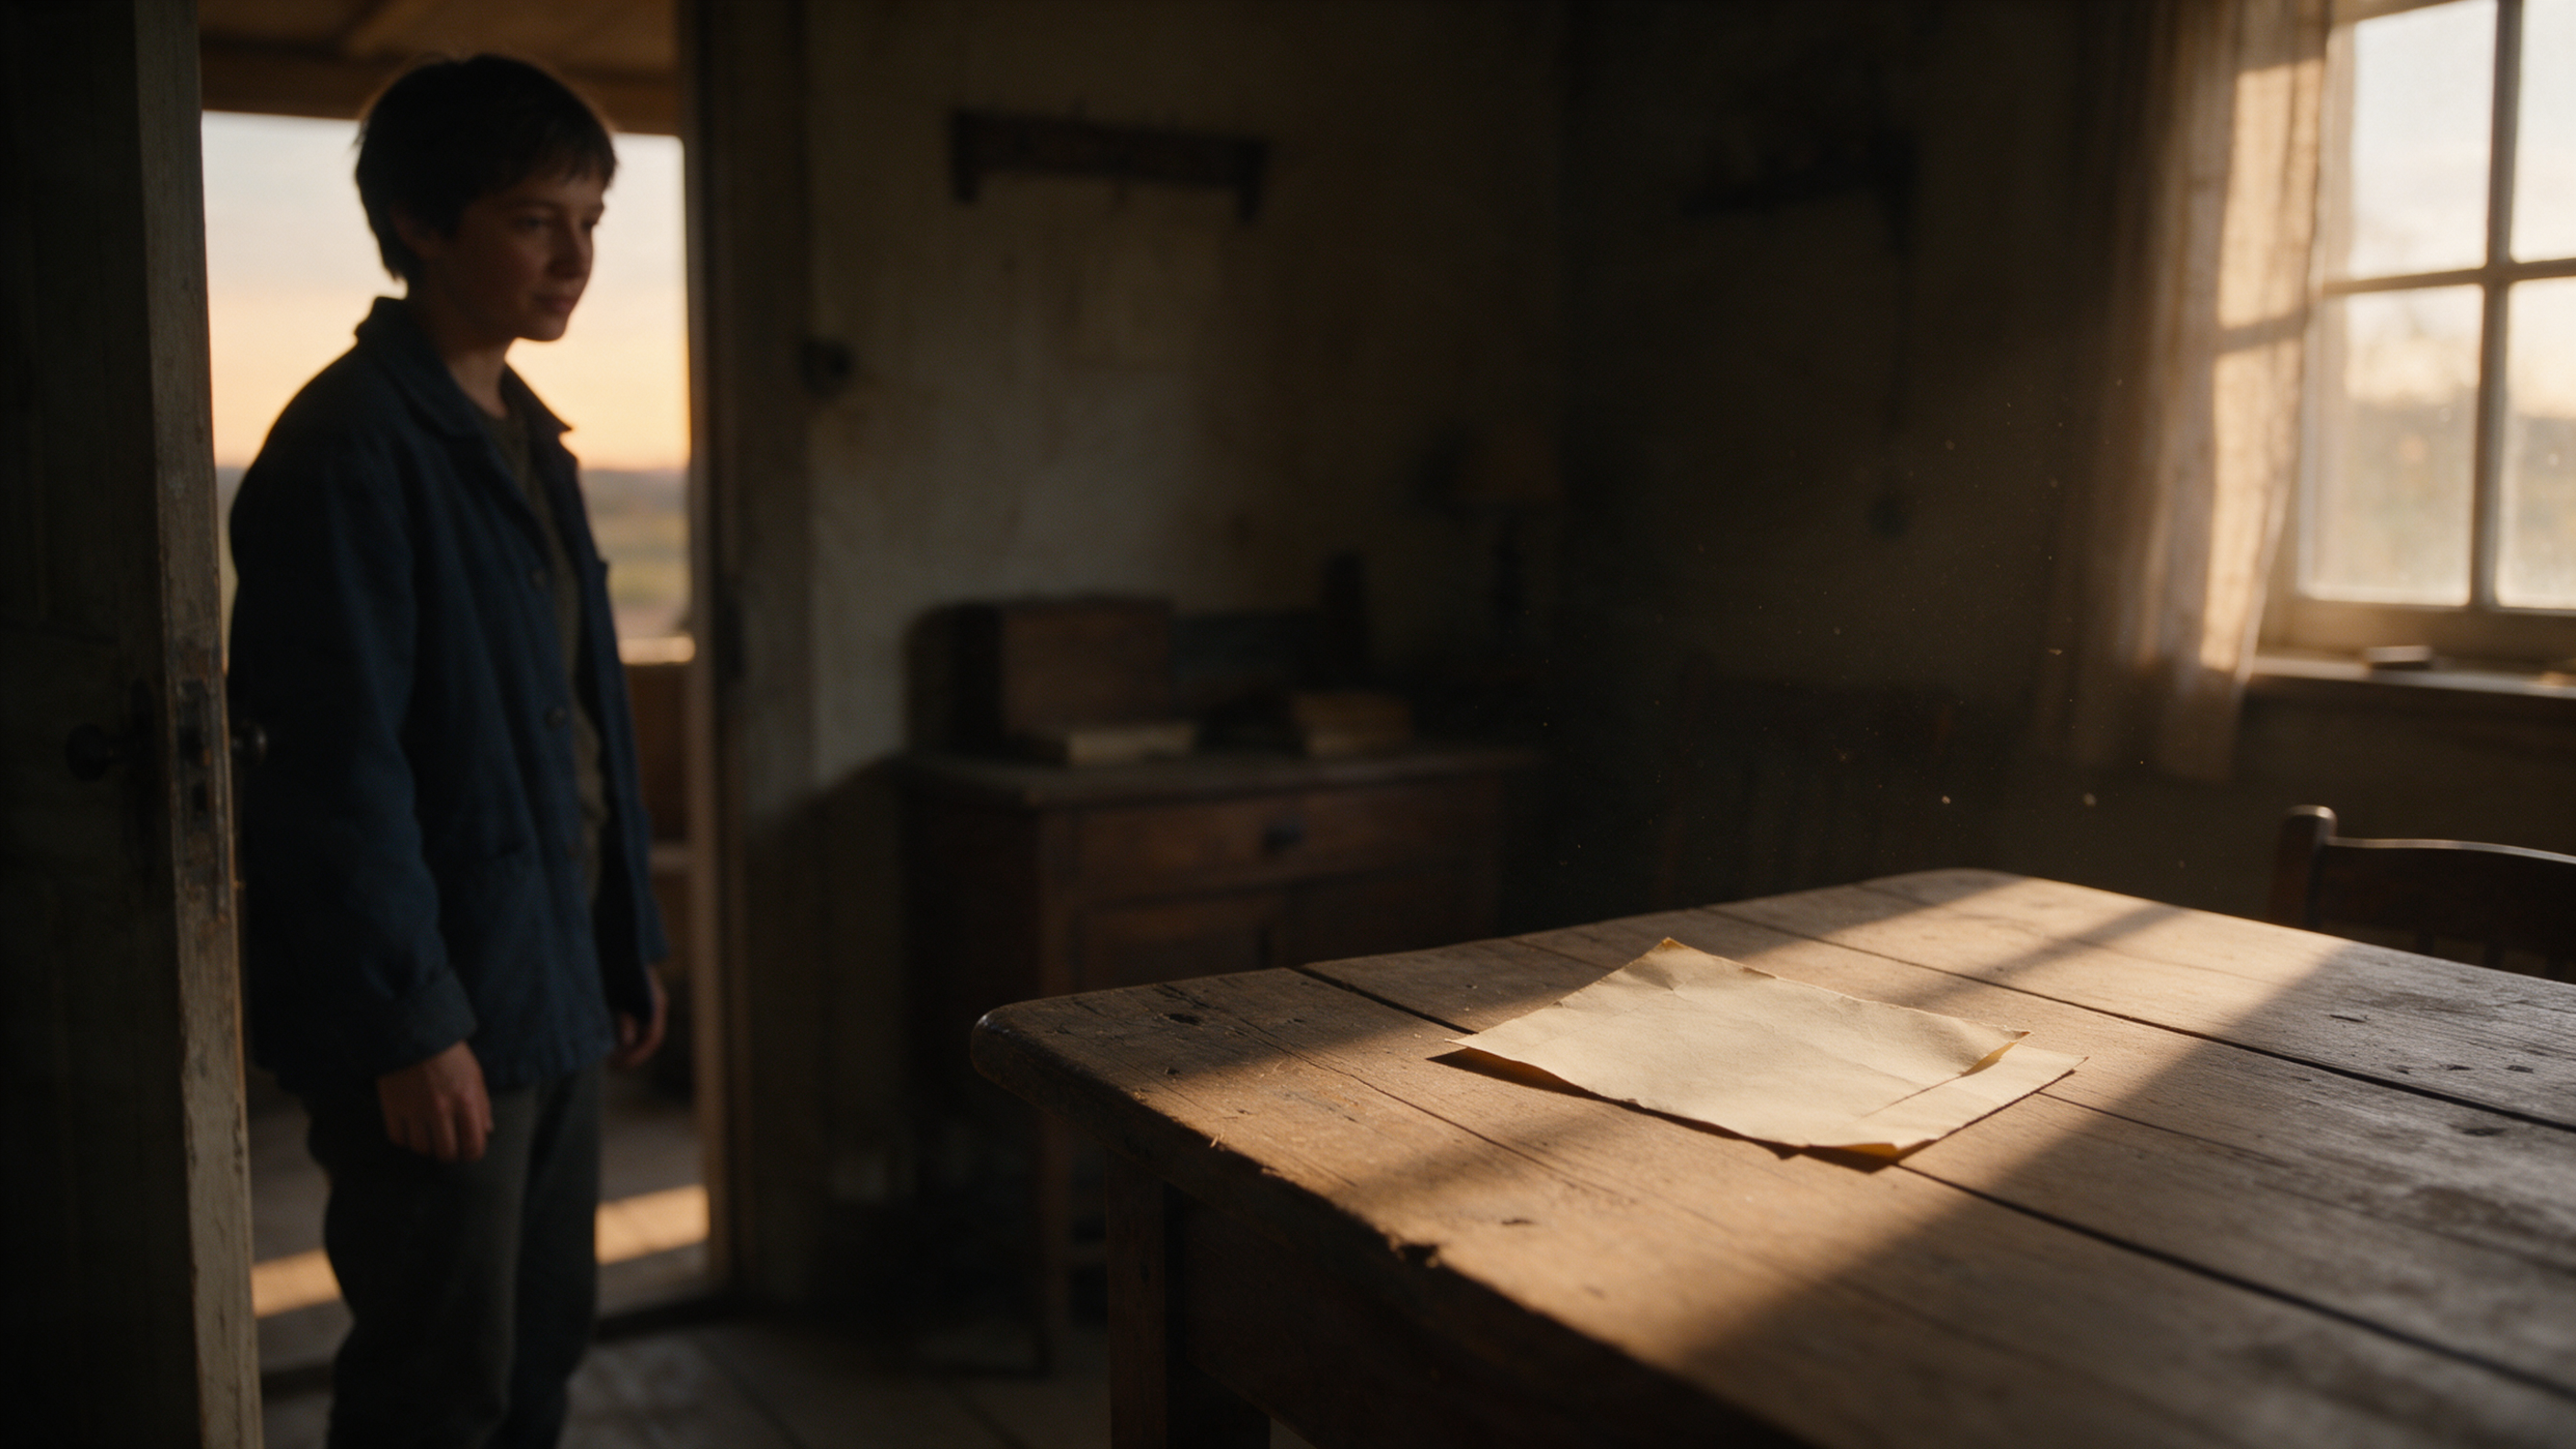
Using that image as a visual reference, Seedance 2.0 Mini generated a 1280×720, approximately 5-second, silent clip. The web preview's first frame shows the old house, character, paper on the table, and window light still in roughly the same positions; this only supports continuity of the establishing elements in the first frame and cannot prove the entire action sequence is free of deviations. It can only help with an initial check of the single shot's scene and action, and cannot confirm multi-shot character consistency, a complete narrative, or that audio post-production is finished.
The image below is a screenshot of the real canvas web page; the test notes, the establishing image, and the video node are connected on the same canvas.
Post-production: combining story, sound, and image
Dialogue, narration, ambient sounds, and music should be arranged separately. Temporary voiceovers can help judge timing; when finalizing, verify pauses, character names, and tone. Before using real voices, music, or other materials, confirm that the licensing is appropriate for the intended use. In editing, ensure the story flows first, then unify color grading, volume, and subtitles.
After exporting, watch the full piece once and give it to someone who hasn't read the script to see if they can understand why the character entered the old house and what was discovered. If key actions do not hold up, add reaction shots or redo the crucial segments; transitions cannot automatically fill informational gaps. Only after this step is completed can multiple qualified shots be considered a finished microfilm.