
How Educational Institutions Produce AI Course Videos: From Lesson Planning to Final Cut
How Educational Institutions Produce AI Course Videos: From Lesson Planning to Final Cut
This time I created a sample classroom opening segment titled “Where Did the Puddle Go After the Rain” in the Nadou Pro canvas: first generating a situational image, then a short clip of about 5 seconds. The pre-submission estimates for the two requests were 3 credits and 7 credits respectively, totaling an expected 10 credits; I used it to test whether the imagery can serve a specific teaching question, rather than using generated visuals in place of scientific explanation.
When educational institutions produce AI course videos, first determine what students should learn, then write the explanatory script, lay out the storyboard, produce the visuals, and deliver the voice-over and edits to the curriculum research team for review. Generative video can be used for situational expression and illustrative diagrams; topics involving precise data, experimental procedures, or processes that must be accurate should still use verifiable charts, professional software, or real demonstrations. Smooth visuals only indicate they look coherent; they do not mean the knowledge is presented correctly.
Decide What the Visuals Should Explain During Lesson Planning
During lesson planning, first write down: after watching this section, what question should students be able to answer? Then arrange the explanation and visuals accordingly. How long a knowledge point needs depends on content difficulty and the students; there is no need to compress everything into a uniform few seconds.
Divide content into three categories: facts that must be presented accurately, simplified illustrations, and scenarios used to spark interest. Simplified illustrations should state what has been omitted; fictional scenarios must not be presented as real historical records or experimental phenomena.
For example, when teaching the water cycle, the curriculum team should first determine which stages and terms need to be explained, and then design corresponding visuals. Do not let the model fill in the whole process on its own and then accept it solely because it "looks right."
Curriculum Research and Production Should Share a Single Shot List
Shot List Field | Details to Specify |
|---|---|
Learning Objective | What this segment helps students understand |
Narration Text | Explanations and terms confirmed by curriculum research |
Visual Content | What the visuals show and how they correspond to the narration |
Evidence/Factual Basis | Textbooks, materials, or professional review sources |
Production Method | Live footage, charts, animation, or AI-generated situational illustration |
Acceptance/Review Personnel | Who verifies the content knowledge; who verifies visuals and audio |
Sources and permitted usage for reference illustrations, textbook materials, fonts, and audio should also be recorded. If using a teacher's likeness or voice, obtain authorization first; there is no need to arbitrarily set uniform thresholds such as "how many photos must be prepared."
Tools Should Serve the Confirmed Script First
The NadouPro workspace can organize content by script, subject, storyboard, and production. When managing teaching segments, it is recommended to retain terms and review requirements in the storyboard. Workspace Guide
For a course series, confirmed characters, scenes, and layout references can be reused, but image blending is not equivalent to training a digital teacher model and cannot guarantee consistent appearances across all shots. If the course consists only of screen operations or a teacher's explanation, existing screen recordings and audio workflows may already suffice; do not replace accurate materials solely to use generated content.
First pick a clearly defined learning point, complete the explanation, visuals, and captions, and have the curriculum team review it from start to finish. Where the pacing is too fast or the visuals are incorrect, make corrections within this sample segment first; do not roll out changes across the whole course yet.
A Fully Tested Sample Segment: Using a Puddle Scenario to Introduce a Classroom Question
This is a teaching demonstration sample constructed for the article, not a course already launched by any school. I narrowed the goal to an opening question: when students see a puddle on the playground after rain, will they ask "Where did the water go afterward?" This shot is only responsible for prompting observation and discussion; explanations of evaporation, condensation, and precipitation should still be checked against textbooks by the curriculum team and completed with accurate diagrams and explanations.
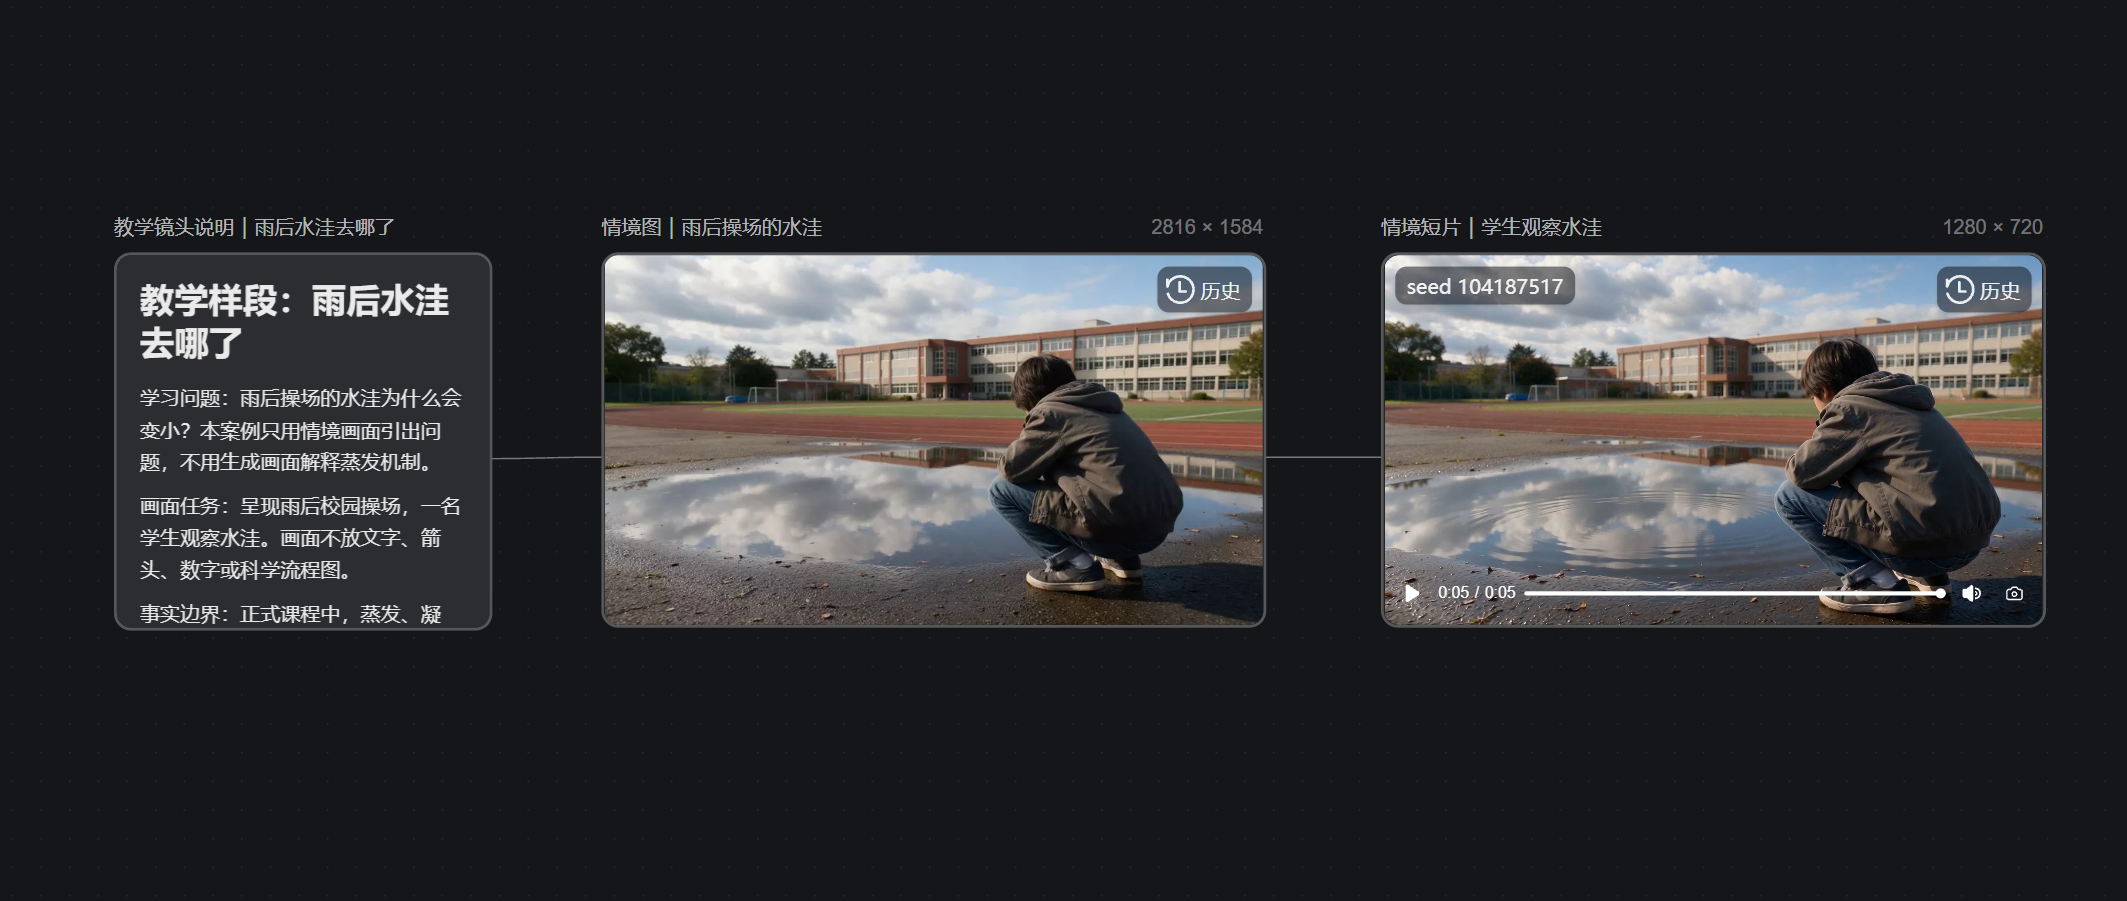
In this NadouPro example canvas, I created three connected nodes: "Teaching Notes → Situational Image → Situational Short Film." The teaching notes first define the intended use of the visuals and factual boundaries; the situational image was generated with Seedream 5.0 Pro as a 16:9 image; the short film then used that image as a reference and was generated with Seedance 2.0 Mini as a 16:9, 1280×720, approximately 5-second silent video. The pre-submission estimates for the image and video were 3 and 7 credits respectively; this is not the final billing record.
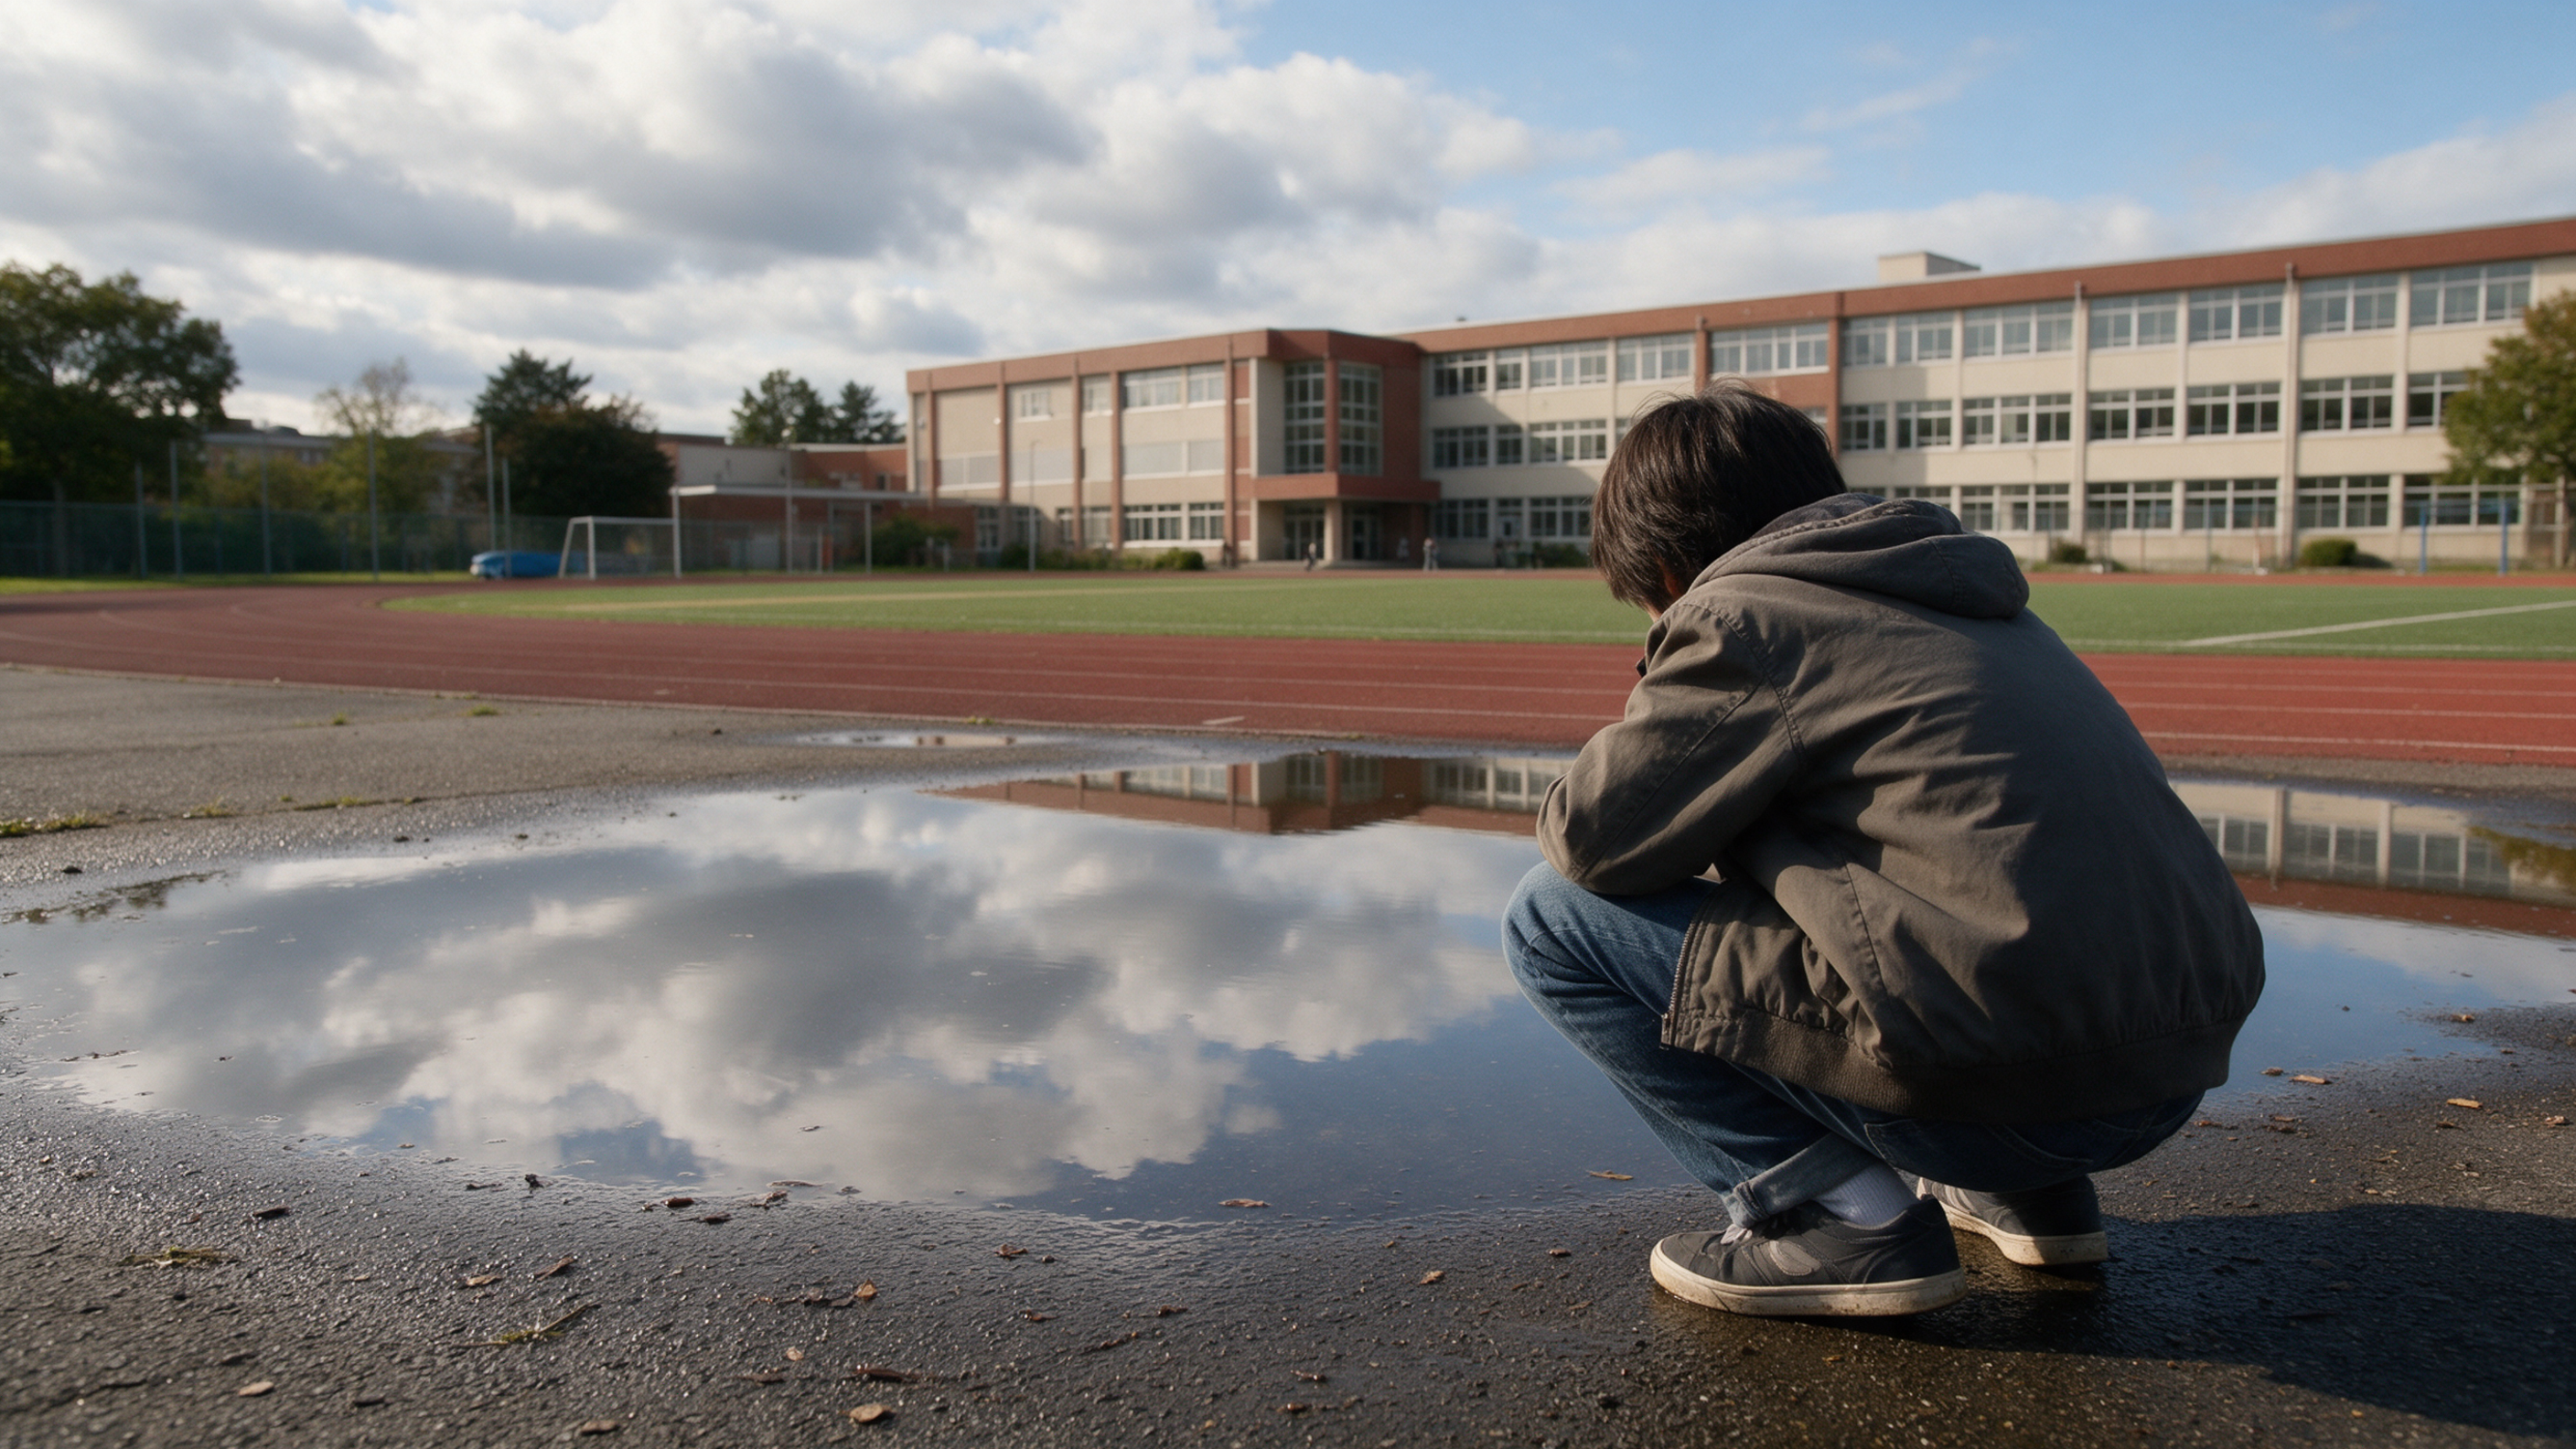
The image can serve as a framing reference in the storyboard: the student and the puddle appear in the same frame, but the image contains no formulas, arrows, or direct answers. This way, the teacher can first have students state their observations and then move on to evidence-based scientific explanations.
When accepting this material, I focused on whether the playground, the student, and the puddle remain coherent, whether the shot is stable enough, and whether misleading visuals appear such as the puddle instantly "disappearing" or steam being added out of nowhere. It does not yet have narration, subtitles, or scientific diagrams and cannot be used directly as a complete lesson; the next step is to add curriculum-approved narration and editable subtitles, and then review them together with the illustrations.
Voice-over and Subtitles Are Also Part of Teaching Content
Formulas, units, proper nouns, and numbers should be verified separately. Subtitles should use editable text to avoid directly using text embedded in generated visuals that is prone to errors. Even if a voice-over sounds fluent, it may mispronounce polyphonic characters or technical terms.
During editing, allow students enough time to clearly see charts and key steps. Background music should not drown out explanations, and camera movements should not make content that requires careful observation difficult to discern.
Before Expanding into a Series, Conduct a Full Review Run
First have the curriculum team check the knowledge, causality, and terminology against source materials, then have production staff check audio, subtitles, and visuals. Finally, watch continuously from the student's perspective: does the explanation skip steps, do the diagrams cause misunderstandings, or is pausing needed to finish reading key points?
When you find problems, note the specific segments and, after making corrections, view them again in context. Even if a word in the subtitles is fixed, the voice-over may still say the old content and the visuals may not have been updated; these elements must be verified together.
After the sample segment passes, save the course script format, reference materials, and checklist, then expand to other lessons in the same series. Templates can reuse formats, but new content still needs to be reviewed item by item; faster production does not mean this step can be omitted.